
A special surprise for you all this week. We were offered the opportunity last week to make use of the Queens engineering labs in order to manufacture cases for our project; that’s exactly what I have done!
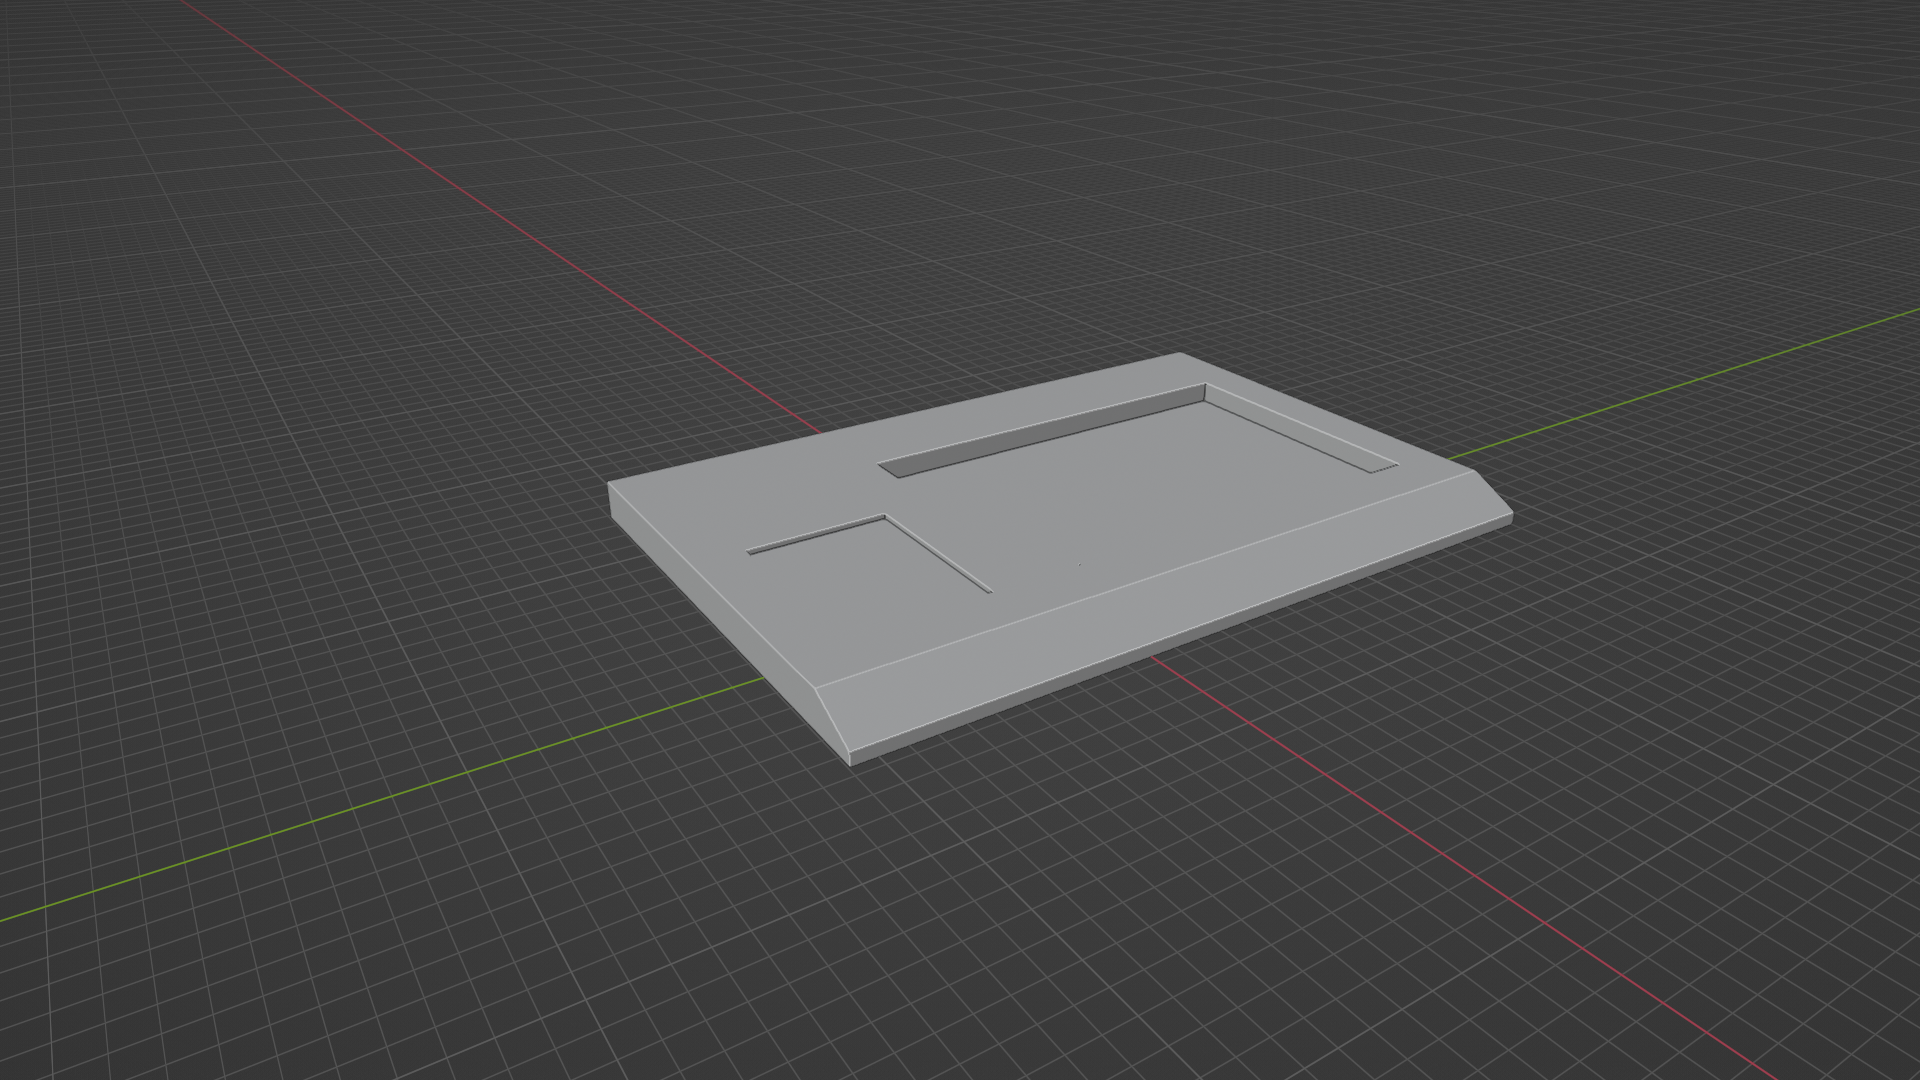
As shown, I settled on a 3D print design, with indents for the breadboard(s) and Arduino. the front is angled for the touchstrip, making it easier to play.
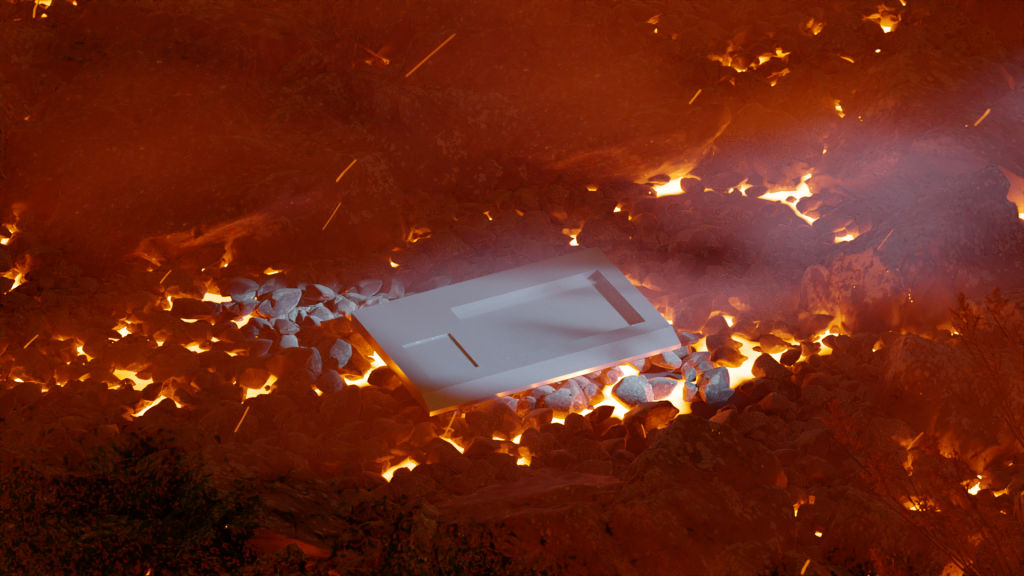
Another, slightly more detailed render of the case. I should mention that all of the renders and 3D modelling was done by my brother, Nayan Gilboa-Way, who is finally making use of his Ba(Hons) – Colouring-In.
After the design stage, both Stephen Cliff and Vijay Amlani assisted in finalising the CAD files to make them ready for print. They realised that the original model was too wide for the printers, so would have to be split in 2, and glued together.
I did attempt to make some tabs to align the case when being glued, at the suggestion of Stephen; however, when the time came to glue the case, the tabs did not fit, so Vijay had to cut them off. Nonetheless, it’s glued together as straight as I care.
I’m sure you’d like to see some images of the case in its final form; however, I forgot to take any pictures before putting the components on, so you’ll have to wait for next post! Don’t worry, it won’t be long!